Start with a basic sugar cookie recipe. I have used both chilled and straight from the mixer recipes. Either are perfectly fine, it is really a personal or time preference. For these, I used a non-chilled recipe.
I don't know why this is flipped. In my jpg file it is rotated the right way. I have been trying to correct it for half an hour and am completely irritated by the thing. Sorry...but you get the gist.

If anyone is interested in the recipes for cookies and royal icing, comment to me and I will gladly post them.
Things you will need:
- A stand mixer (because you don't want to have to hand whip the icing for 7 to 8 minutes, but if its all you've got, by all means...)
- Containers with airtight seals
- Either bottles or pastry icing bags with #1 and #2 tips with couplers
- A mini piggy spatula :)
- food coloring of your choice
- A batch of royal icing,
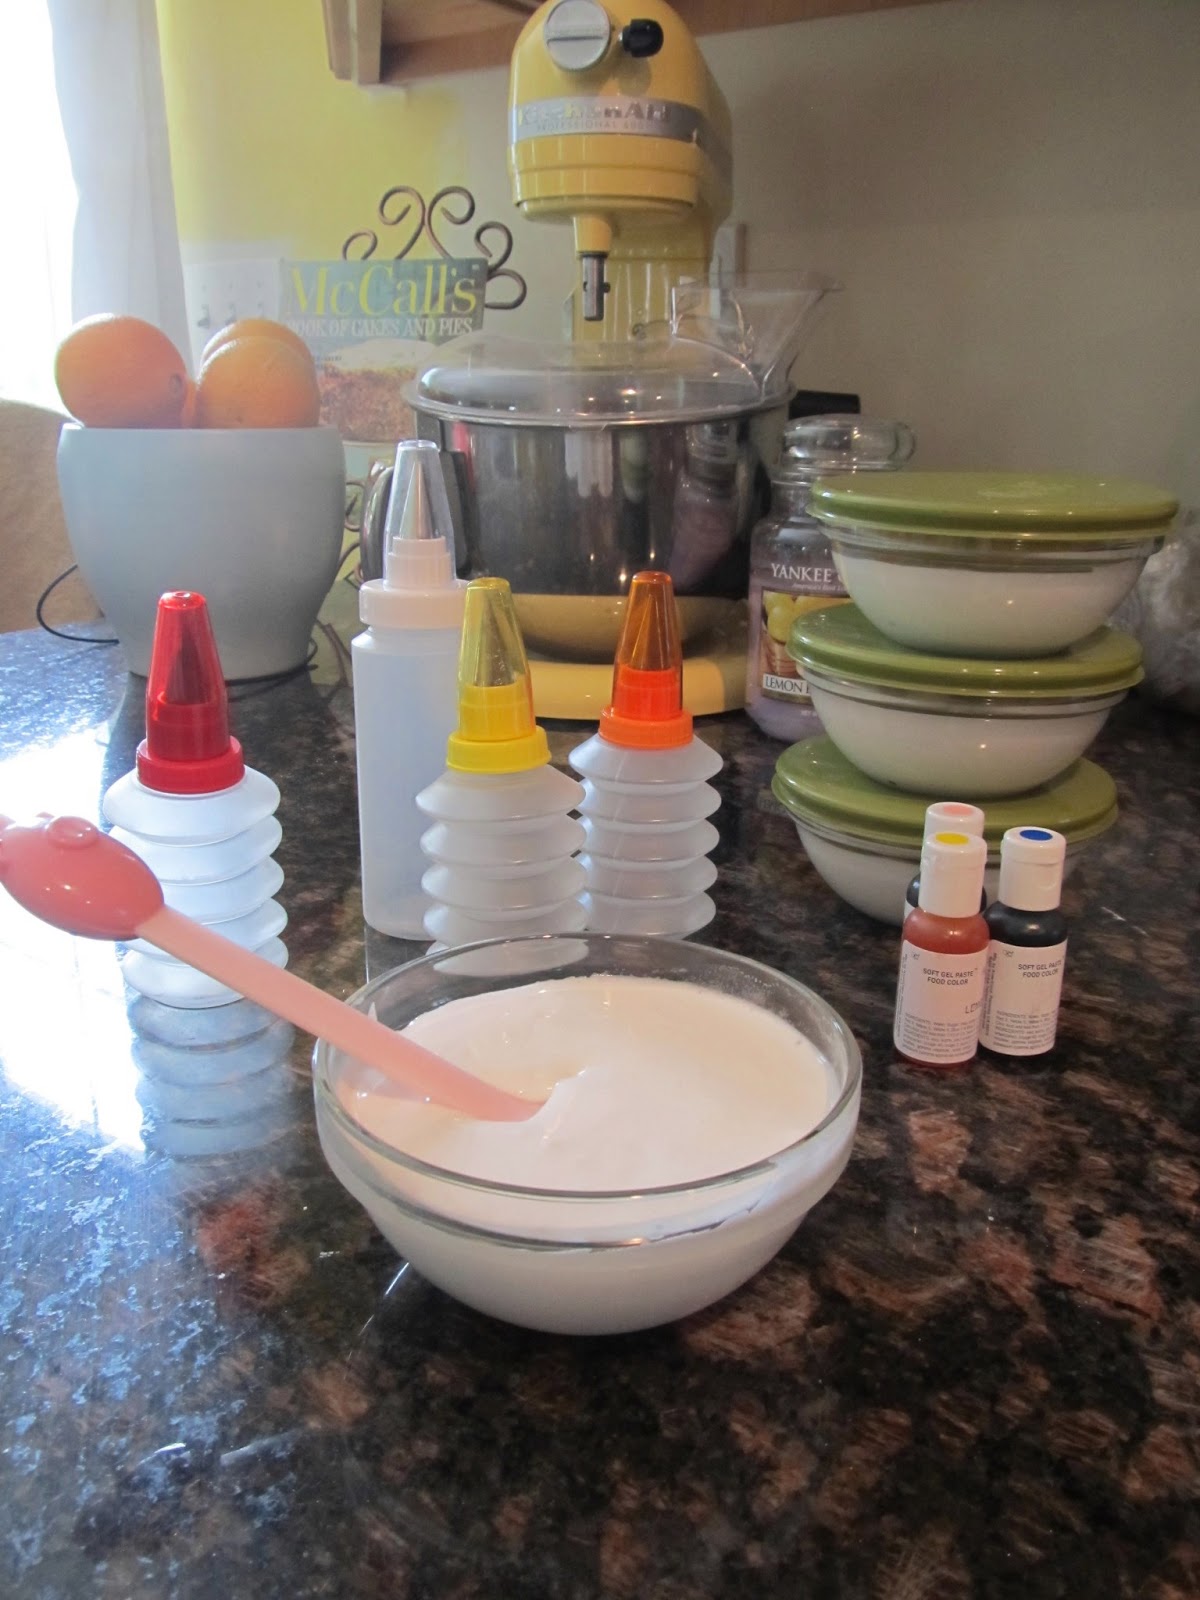

- And for the lady behind the mixing bowl- a frilly apron!

Once your icing forms stiff peaks on the whip when held up, it is time to stop whipping. You now have piping icing. It will look like this:

This is also referred to as 20 second icing. Here is where I divide mine into containers for coloring. Once divided you can color and loosen the consistency for use as "flood" icing if you are using it for that.
Flood icing should be at the 10 to 15 second timing which is what you will fill in your outlined cookies. In order to know what type of icing you have made, simply plop a spoonful onto itself and count how many seconds until it blends back in. Highly scientific methodology. Like this:
start counting as soon as it hits the surface one, one-thousand, etc.

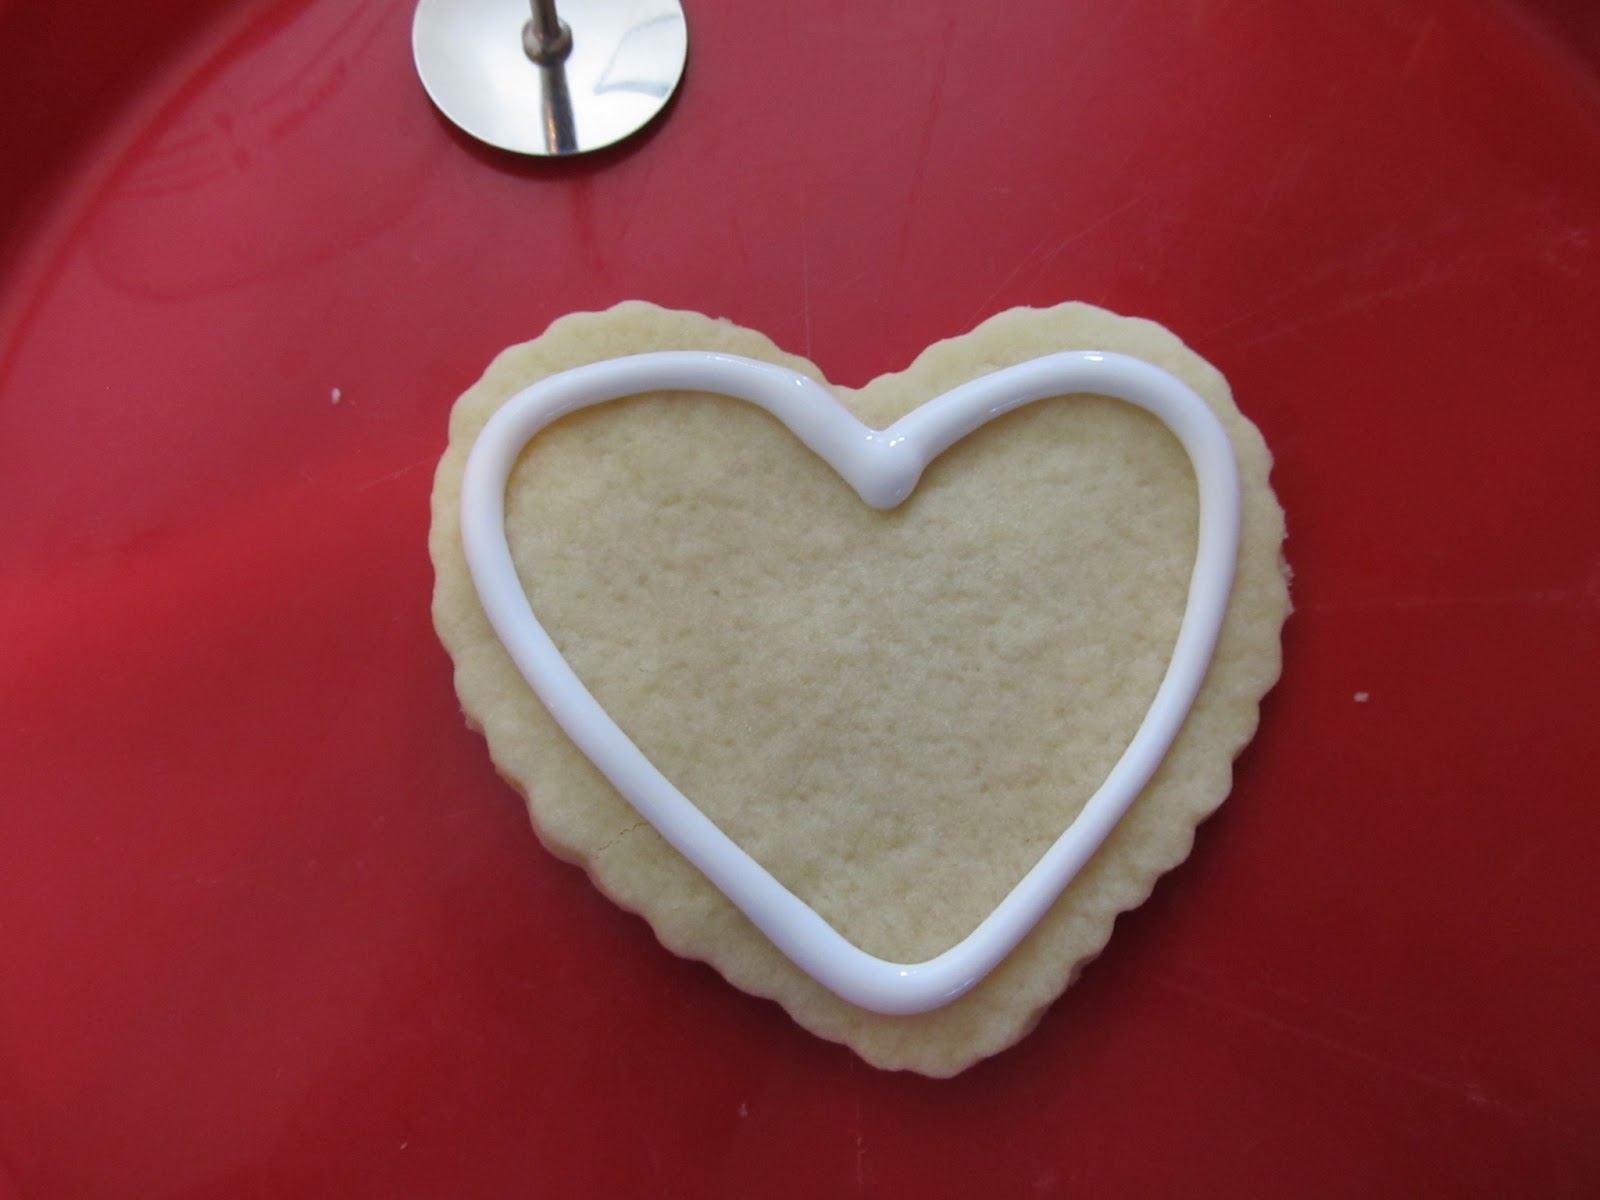
Using the measuring cup, take your piping icing (20 second) and fill a bottle/bag with it and add a #1 tip. Hold it about 1/8 inch above cookie and begin to squeeze lightly while moving around perimeter of cookie. Like this:
Now take the "flood" icing and pour it into a bottle/bag and #2 tip and fill it in for the most part. Like this:

Take your toothpick (I couldn't find mine so I improvised with a flower pin tool) and gently push icing around to smooth in areas. Like this:

My pictures keep flipping and it's flipping annoying! I need a new camera, computer and photo editor.
Anyway, cookie should look like this and will dry smooth.

Color your divided icing as you choose. At this time, if you are using it as flooding icing add a few drops of water to loosen. Do it a drop at a time as one drop too many and you have to add sugar and the vicious cycle is started:

Mix well and voila! Beautiful color.

Piggy is proud of his hard work.
Fill your bottles/bags with each color and use a #1 tip for detail colors and a #2 tip for flooding colors. Keep the rest in storage containers which will last a couple of weeks so you can have time to make tons of cookies!

Then,
HAVE FUN!

Eventually, your batch will look like this (with your own design):

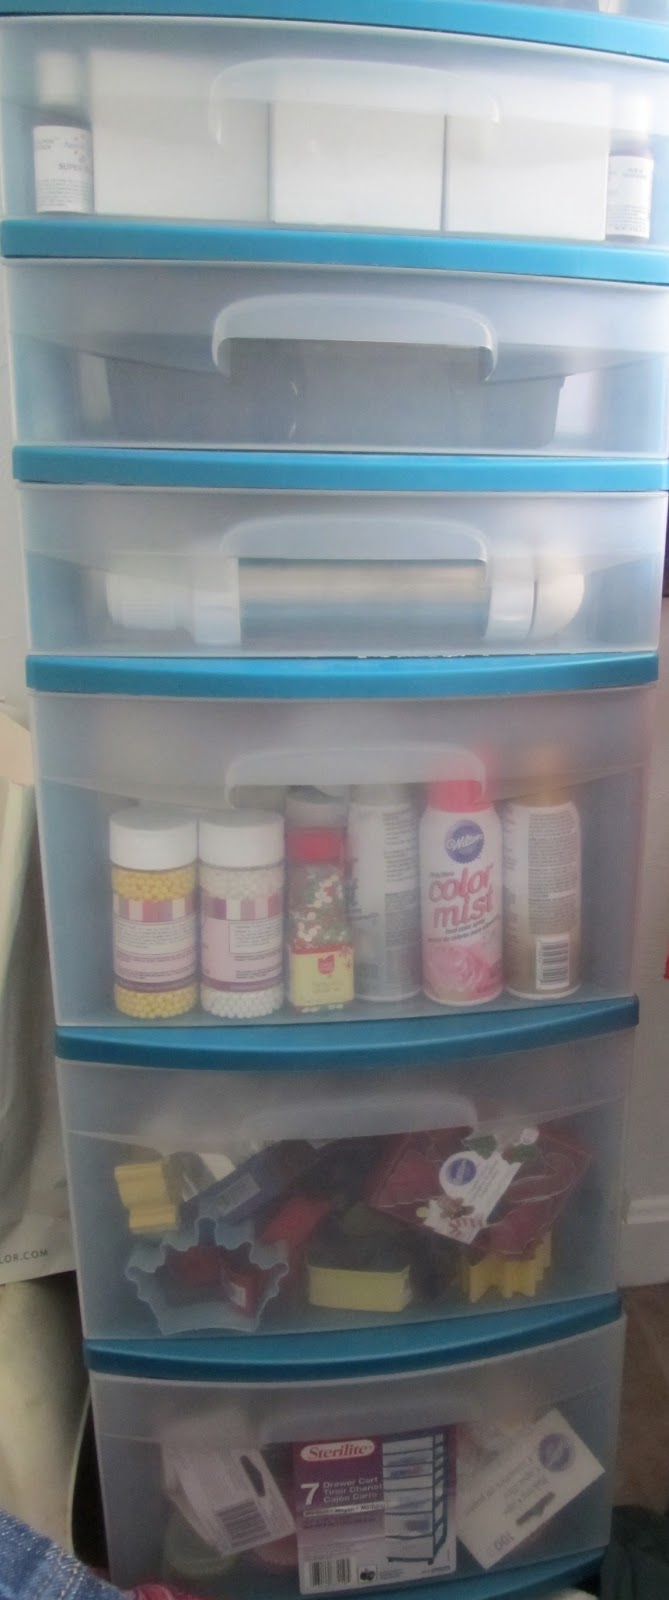
This is the mobile home for my treats' décor and equipment. I prefer a rolling cart so I can easily transport it from utility room to kitchen and back:
Tips and couplers:

Food dies and glitter dusting powders all edible only:

Sculpting tools and oil free extract flavors

Bags, bottles and other necessities:

Sparkles, sprinkles, beads, glitter sprays and toppers all edible only:

SOME of my cookie cutters. The rest are in boxes:

Airbrush liquid and cupcake liners, plenty of happy florals and polka dots in here:

No comments:
Post a Comment